
 by
by Introduction For How To Remove Grohe Kitchen Faucet
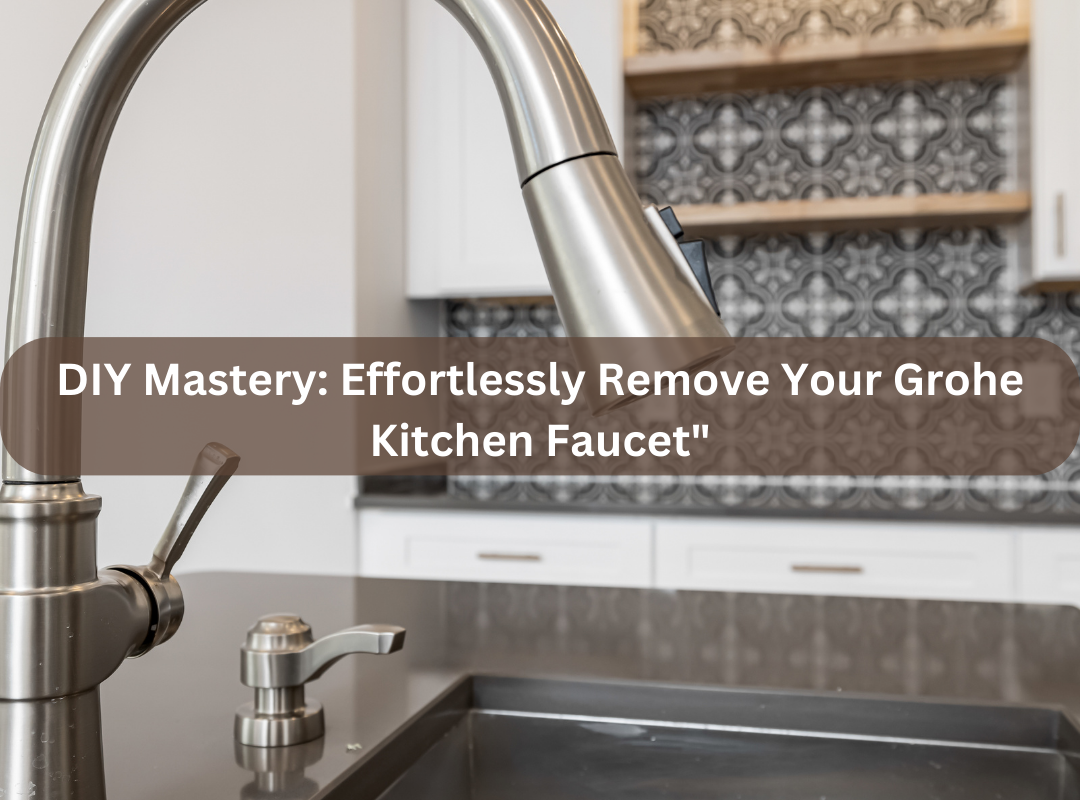
Embarking on a kitchen faucet replacement journey, particularly when dealing with a Grohe faucet, requires a systematic approach to ensure a smooth and successful removal process. Whether you’re upgrading your kitchen or addressing maintenance needs, understanding the steps involved in removing a Grohe kitchen faucet is crucial.
In this blog, we’ll explore the necessary tools, precautions, and step-by-step instructions to empower homeowners with the knowledge needed for a hassle-free removal of their Grohe kitchen faucet.
Q1: How do I begin the process of removing a Grohe kitchen faucet?
A1: Locate the shut-off valves beneath the sink and turn off the water supply to the faucet.
Q2: What tools do I need to remove a Grohe kitchen faucet?
A2: Common tools include an adjustable wrench, pliers, and a screwdriver, depending on the faucet model.
Q3: Should I disconnect the faucet from the electrical supply before removal?
A3: If the Grohe faucet has electrical components, disconnect the power supply before starting the removal process.
Q4: How can I detach the water supply lines from the Grohe kitchen faucet?
A4: Use an adjustable wrench to disconnect the water supply lines by turning the nuts counterclockwise.
Q5: Are there specific precautions for removing a pull-out or pull-down Grohe faucet?
A5: Ensure the faucet’s spray head is in the retracted position before attempting removal to prevent damage.
Q6: Can I remove a Grohe faucet without shutting off the water supply?
A6: It’s not recommended; always turn off the water supply to prevent water leakage during removal.
Q7: How do I remove the decorative cap on a Grohe faucet handle?
A7: Gently pry off the decorative cap with a flat-head screwdriver to reveal the screw beneath.
Q8: Is it necessary to disconnect the garbage disposal when removing the Grohe faucet?
A8: It’s not mandatory, but for easier access, consider disconnecting the garbage disposal if applicable.
Q9: How do I remove the handle of a Grohe kitchen faucet?
A9: After exposing the screw beneath the decorative cap, use a screwdriver to unscrew it, allowing the handle to be lifted off.
Q10: Can I remove a Grohe faucet without professional assistance?
A10: Yes, with basic plumbing knowledge and the right tools, most homeowners can successfully remove a Grohe kitchen faucet.
Q11: How do I disconnect the sprayer hose from a Grohe kitchen faucet?
A11: Locate the quick-connect coupling and press the release button while pulling the sprayer hose downward to disconnect.
Q12: Should I consult the Grohe manual for specific removal instructions?
A12: Yes, consulting the manufacturer’s manual provides model-specific guidelines for proper removal.
Q13: How do I detach a Grohe faucet with a pull-out spray head?
A13: Disconnect the spray head from the hose by locating the coupling and pressing the release button.
Q14: Are there any hidden screws on a Grohe faucet that I need to remove?
A14: Check for additional screws beneath the sink or decorative caps that may secure the faucet in place.
Q15: Can I reuse the water supply lines after removing a Grohe faucet?
A15: It’s advisable to inspect the condition of the supply lines; if in good condition, they can be reused, but replacement is recommended if they show signs of wear.
Q16: How do I prevent water damage when removing a Grohe faucet?
A16: Place a bucket or towels beneath the work area to catch any water that may drip during the removal process.
Q17: Is it necessary to turn off both hot and cold water supplies before removal?
A17: Yes, turning off both hot and cold water supplies ensures a complete shutdown and prevents any accidental water release.
Q18: Can I use a basin wrench for hard-to-reach nuts during Grohe faucet removal?
A18: Yes, a basin wrench is a helpful tool for reaching and turning nuts in tight spaces during the removal process.
Q19: What should I do if the Grohe faucet is stuck and difficult to remove?
A19: Apply penetrating oil to loosen stuck parts, and use a little force while ensuring not to damage any components.
Q20: Should I consider professional help if I encounter difficulties during removal?
A20: If you encounter challenges or lack confidence in the removal process, it’s advisable to seek professional plumbing assistance to avoid potential damage.
Conclusion On How To Remove Grohe Kitchen Faucet
As we conclude this guide on removing a Grohe kitchen faucet, envision a kitchen space ready for a fresh update or repair. Armed with the knowledge of shutting off water supplies, using the right tools, and following model-specific instructions, you’re well-equipped to navigate the removal process successfully. Whether it’s detaching water supply lines, handling the spray head, or unscrewing hidden components, the meticulous approach ensures a smooth transition.
Should challenges arise, remember that seeking professional assistance is always an option to guarantee a secure and efficient removal. Here’s to a kitchen poised for a new chapter, where the removal of a Grohe faucet becomes a confident and well-executed endeavor.